News & Insights

Nicholas Page
CRM & Marketing Manager
Crowd is a qualified HubSpot Solutions Partner, so we know a thing or two about how to get the most out of what has become one of the world’s most popular CRM platforms. There are lots of “tips and tricks” articles out there to peruse and digest, but to be honest, most of these do little more than cover the basics. Here, we’ll look at functionalities and options that you may have overlooked or not considered before, but can easily implement in order to maximise your marketing automation capabilities and get the most out of your CRM.
So without further ado, here are 10 helpful HubSpot hacks from Crowd:
1. CREATE YOUR OWN LEAD SOURCE PROPERTY
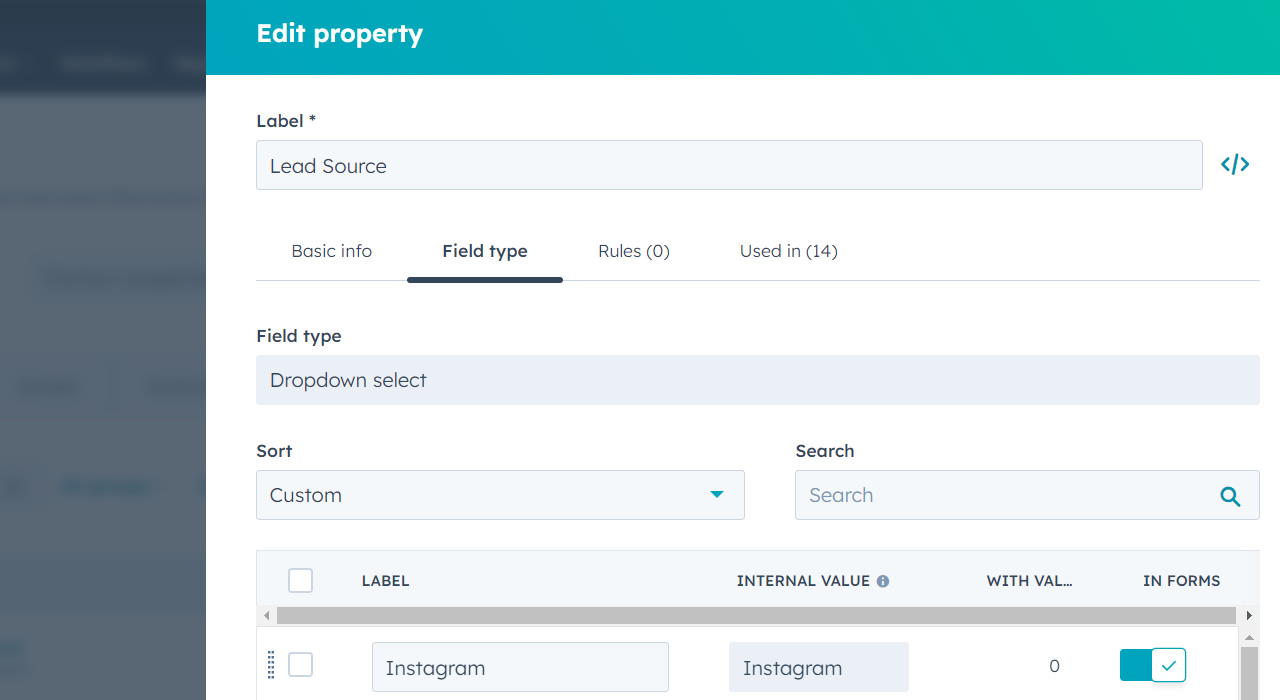
When I’m migrating new clients to HubSpot, this step is often my first port of call on the implementation journey. HubSpot already has a bunch of built-in original source properties, but these can be rather vague and not particularly useful. To remedy this, simply create a new custom dropdown property, name it “Lead Source”, and then you can fill it with whatever you like. In order to ensure these are assigned correctly, you’ll need to set up a lead source assignment workflow to automate the process.
2. CUSTOMISE CONTACT RECORD SIDEBAR
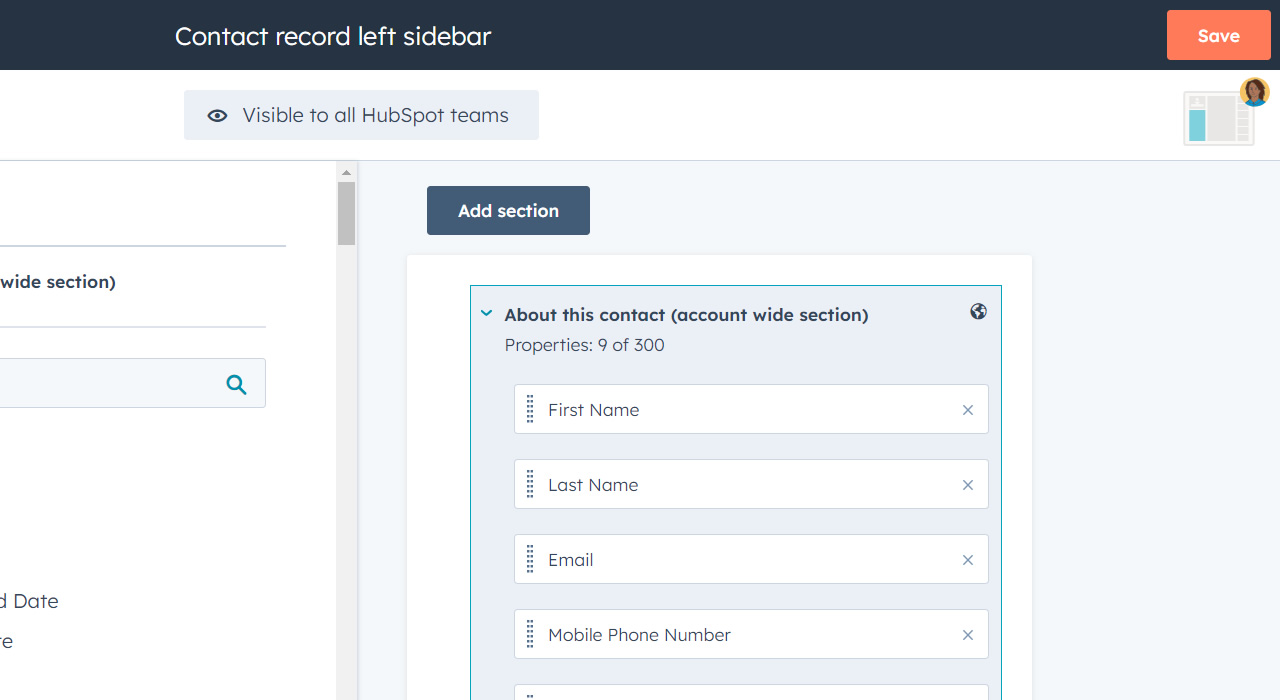
Another example of low-hanging fruit, but one that many new HubSpot users tend to miss, is the ability to customise your sidebars. By default, HubSpot shows a lot of information on the left-hand side of your contact and company records, but most of this isn’t needed. To access the customisation pane, simply open up any record, click “view all properties”, and then “set default properties”. Here, you can customise all the properties you see in the left-hand column of all contact and company records, and even separate them into sections.
3. FILTER OUT ACTIVITIES ON CONTACT SCREEN
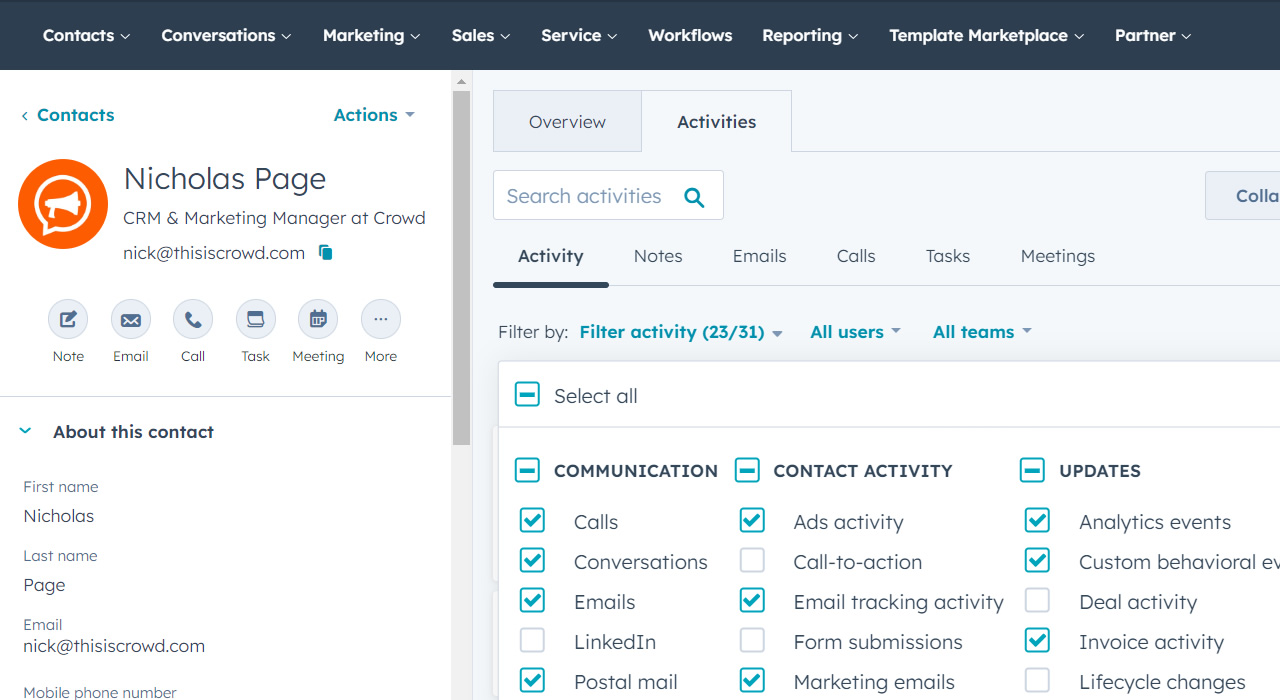
Another important step when customising your contact record screen is to filter out those activities that you’re not interested in seeing. By default, HubSpot will typically show you everything, from communications activity to contact activity, team activity and any other updates. If you’re a sales rep, you might not be interested in the automated marketing emails this contact is receiving, so simply uncheck the “marketing emails” checkbox to rid your contact screen of those updates.
4. LEVERAGE EMAIL SNIPPETS AND TEMPLATES
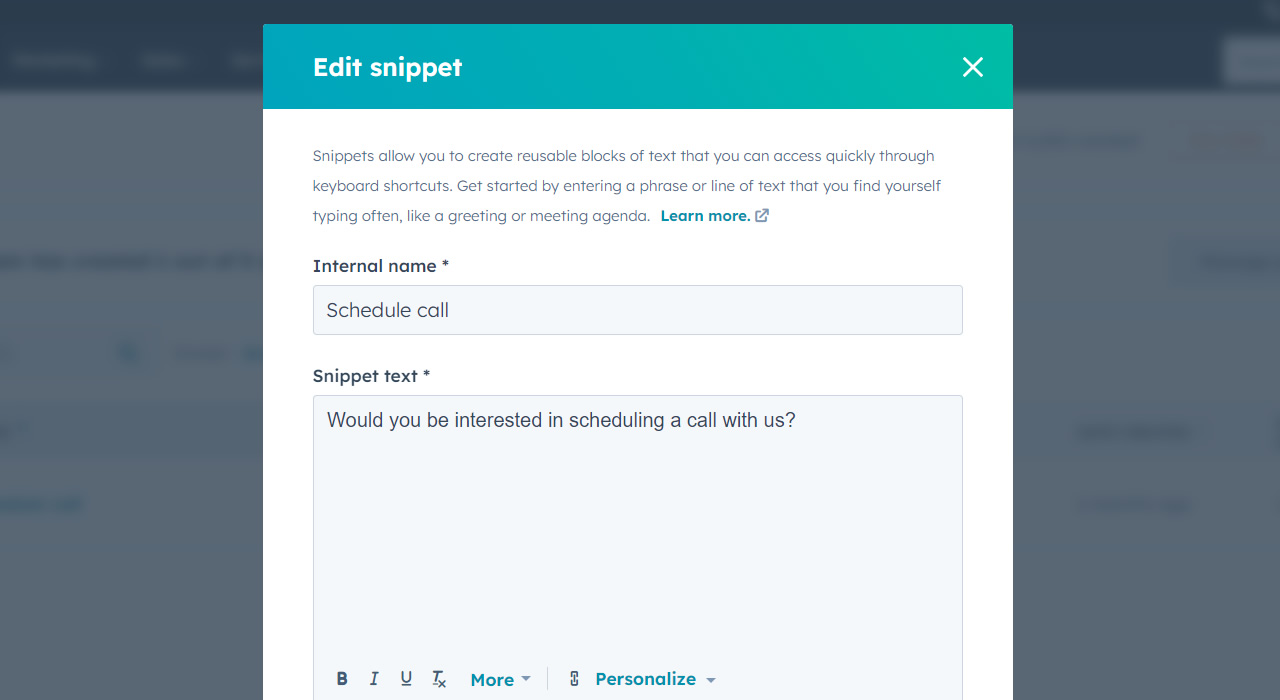
This tip is an absolute life-saver for sales reps that have been assigned an armful of follow-up tasks. Email snippets are basically canned responses that can be used when writing to contacts via email or live chat. Set up your quick reply snippets and then just use the # key to trigger them, streamlining sales engagement and making the process as frictionless as possible. Besides snippets, there are also document templates, which you can upload in advance and drop into any email with ease.
5. AUTOMATICALLY EMAIL REPORTS
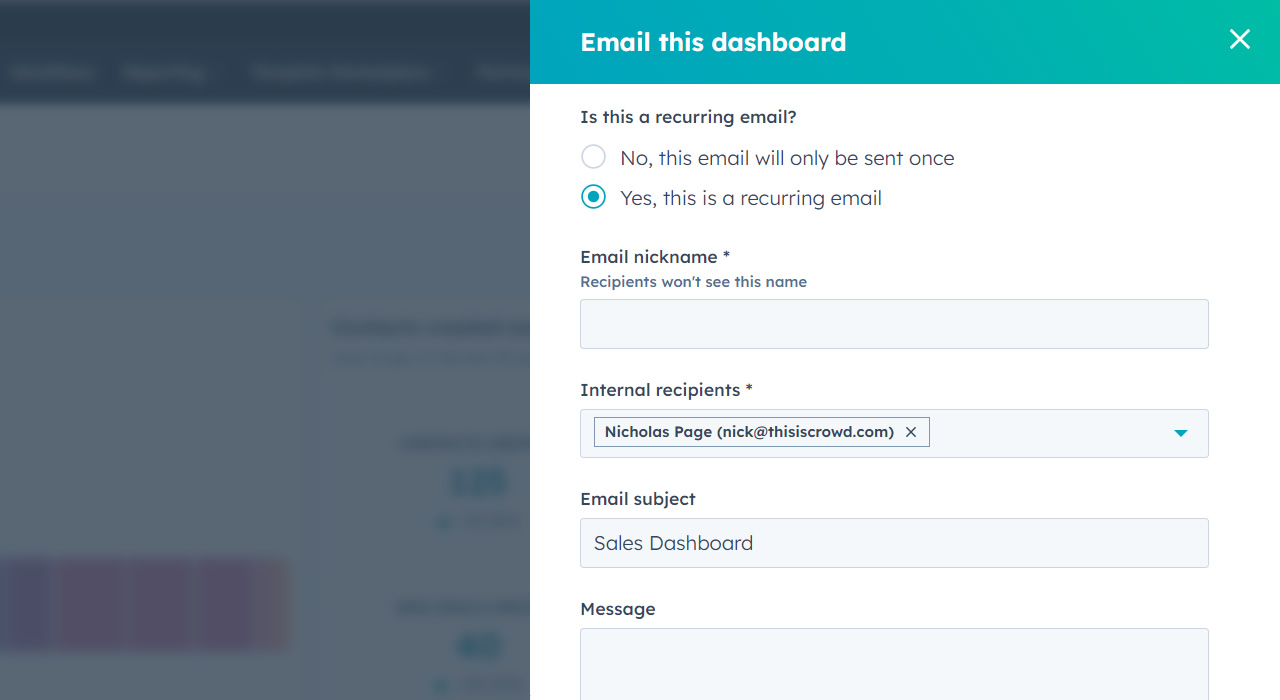
As a CRM Manager, I often get asked to produce reports or dashboards, but did you know that you can automate the delivery process in HubSpot? Perhaps a client wants to see landing page performance at the end of each month, for example, or team activity on a weekly basis. Once you’ve set up these dashboards and reports, hit “Share”, then “Email this dashboard” to bring up the recurring report option. You can schedule it to be delivered daily, weekly or monthly, and even pick a time of day.
6. SET UP DATE-SPECIFIC WORKFLOWS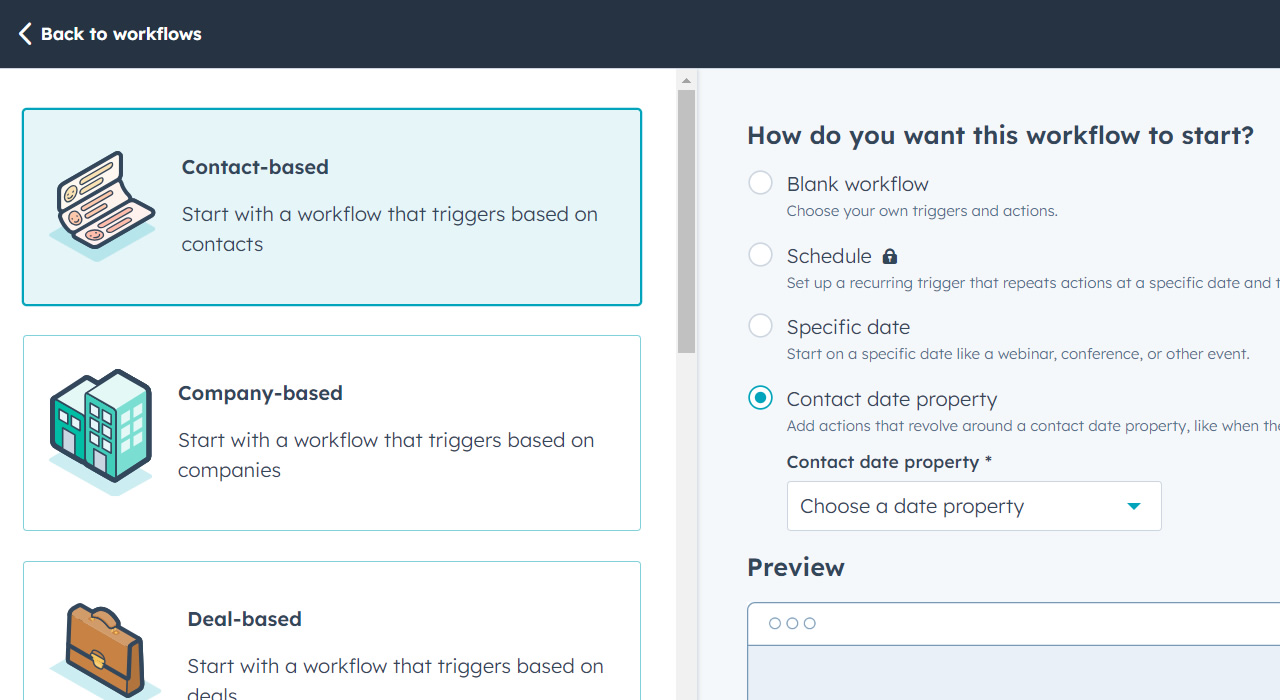
Did you know that HubSpot workflows can be built around a specific date? When setting one up, you’ll see two options: “specific date”, and “contact date property”. The former is great for email campaigns around public holidays, whereas the latter can be used to email a contact on or around their birthday. If you’re in the ecommerce industry, this second option can be a great way to encourage purchases through one-off offers, such as a 25% off voucher on a customer’s birthday. Of course, this means you’ll need to gather date of birth in your forms, too.
7. BLOCK UNWANTED EMAIL SIGN-UPS
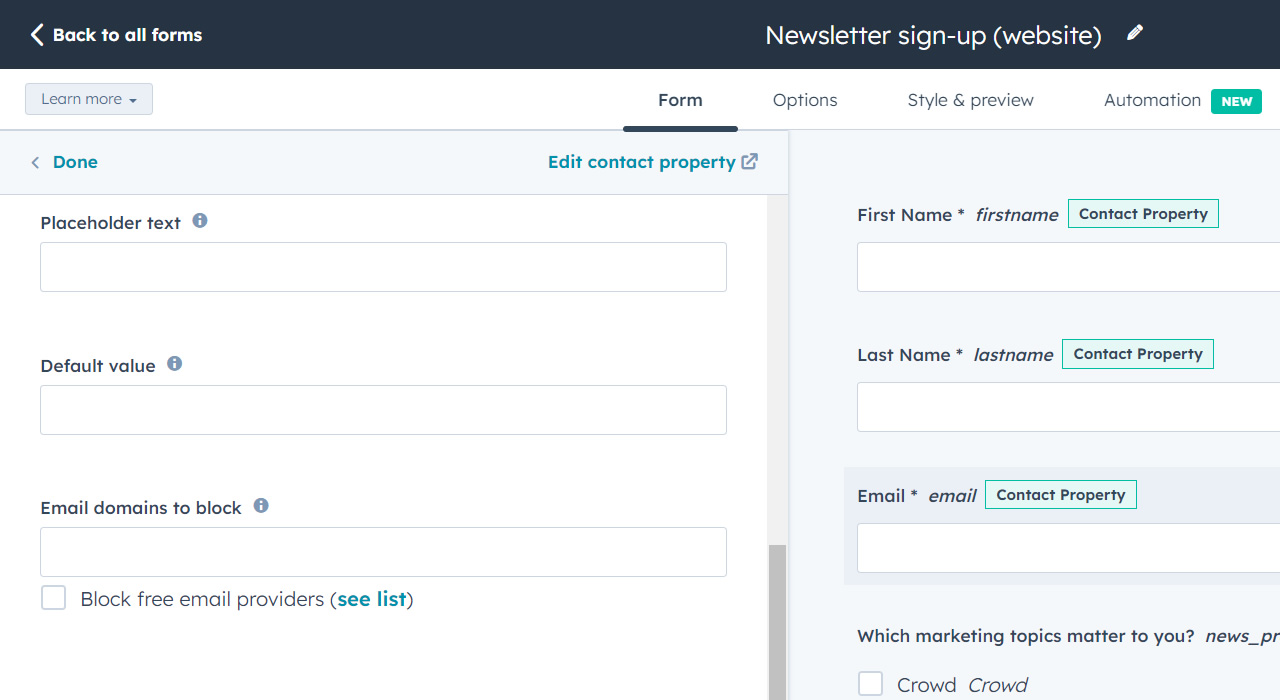
There’s nothing more frustrating as a CRM Manager than receiving spam sign-ups, especially since HubSpot charges you based on how many contacts are in your database. Thankfully, there are a few measures you can take in order to cut this out. Besides the CAPTCHA filter, which should always be activated on your HubSpot forms, there’s also the option to block certain email domains. If you click on the email field, you’ll be able to block free email providers, or insert your own domains, which is a great way of ensuring your competition doesn’t sign up for your content too..
8. IMPLEMENT DYNAMIC MEETING LINKS
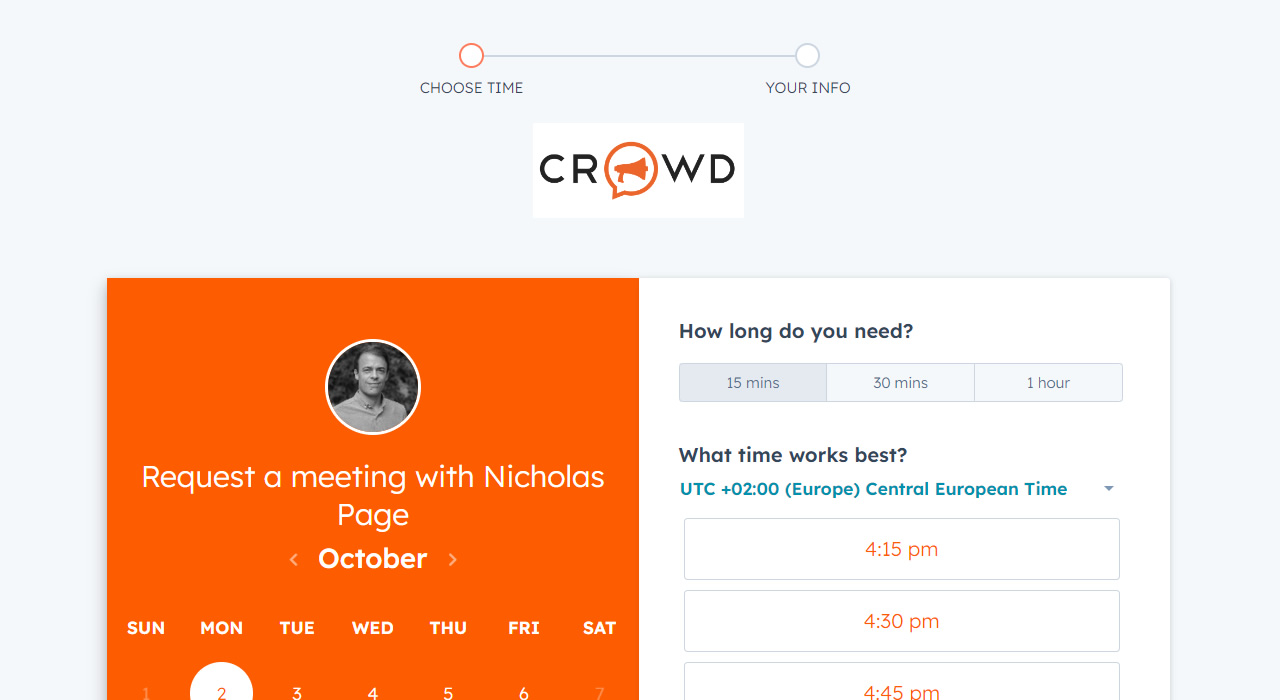
By now, you should be assigning each of your new leads to a contact owner. Each contact owner should also have their own meeting link via HubSpot’s scheduling tool. But how do you ensure that the right link is being displayed in marketing emails? Well, there are a few ways to do this, but our preferred method is simply to create a new custom property called “Meeting Link”, and then create an automated workflow that will assign that link based on the contact owner.
9. HUBSPOT SCORE AND MQL ASSIGNMENT
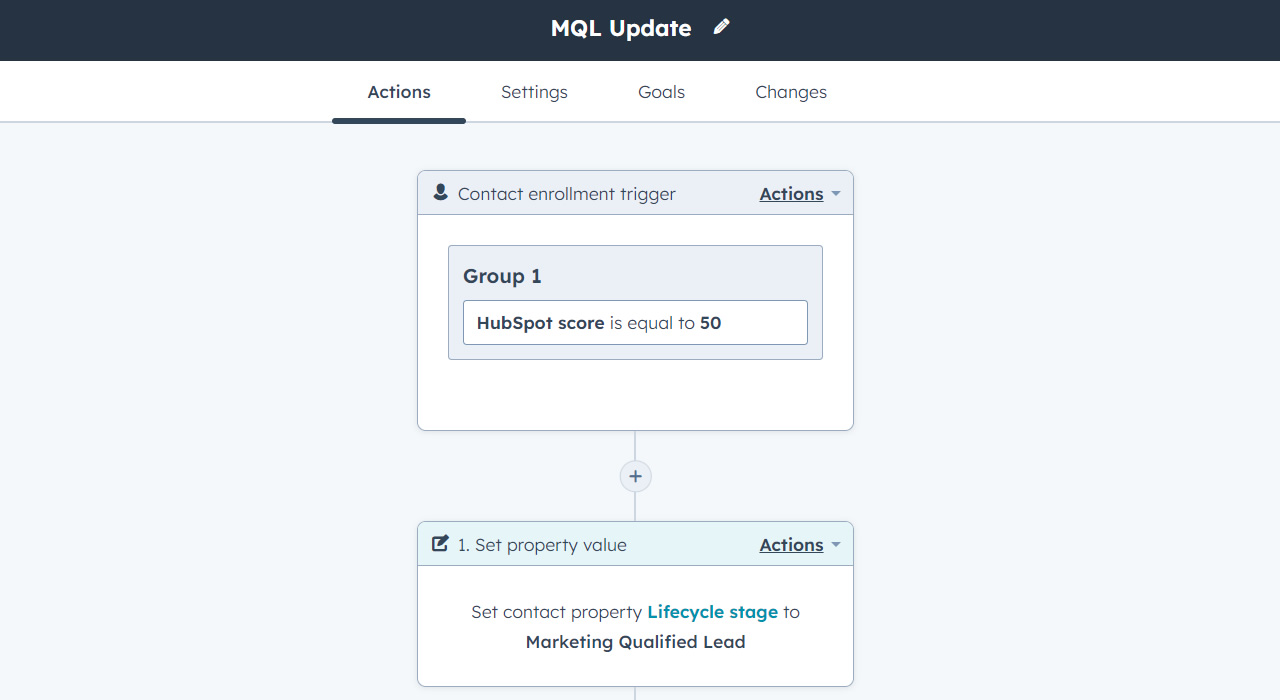
This is probably less of a HubSpot hack and more just best practice, but you’d be surprised how many people aren’t using the platform’s built-in lifecycle stages. In order to qualify your leads, you’ll first need to set up your lead scoring criteria by going to Contact Properties and then HubSpot Score. Once this is done, simply decide on a score (say, 50) and create a new workflow that assigns the Marketing Qualified Lead lifecycle stage to any leads that reach that number. Once done, you can automate a task assignment for the contact owner to follow up.
10. USE ZAPIER FOR INTEGRATIONS
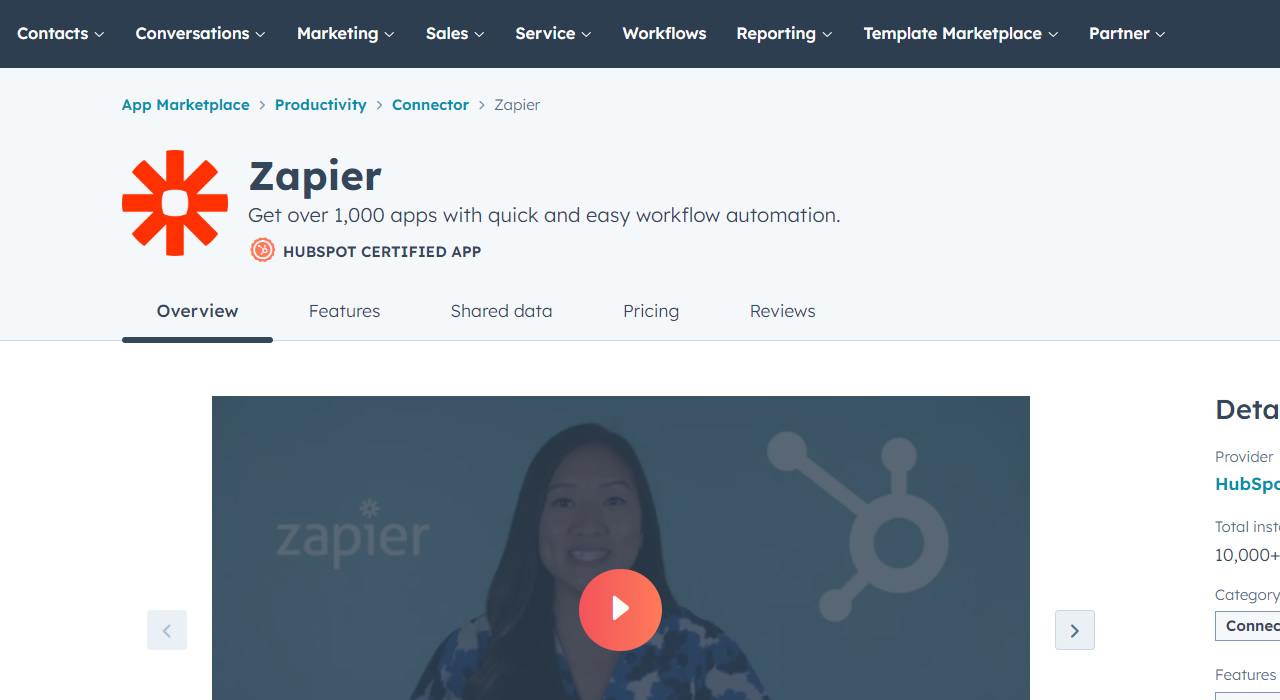
Finally, and this is really a personal choice, if you’re working with a lot of integrations then I suggest investing in a third party automation tool like Zapier. HubSpot’s out of the box integrations for things like Facebook Lead Ads are quite basic, and Zapier allows you to easily match up with your custom properties in HubSpot to ensure that you’re gathering as much information as possible and as accurately as possible. Zapier’s free plan allows you to automate up to 100 tasks a month, which is more than enough for most small businesses.
Want to get the most out of your CRM and get one up on your competitors? Contact Crowd today and see what we can do for you.